The Challenge
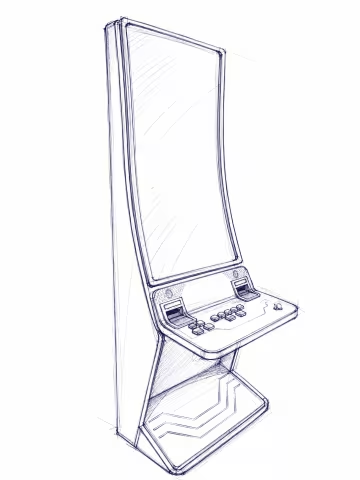
The client came to us with an idea and sketches — not a finished drawing.
They needed an enclosure for an interactive terminal that looked premium, could withstand daily use, had room for electronics and cabling, was easy to service, and stayed economically realistic for their production run.
The initial concept involved complex, doubly-curved surfaces. For a large series, the logical route is a dedicated die. But the client needed a medium-sized run, and the product was still evolving — the cost of the tooling would have outweighed its purpose, and every subsequent change would have meant a new tool.
The task wasn't to simplify the design. It was to split the geometry so that each zone could be manufactured with the most suitable available technology.
Engineering Approach
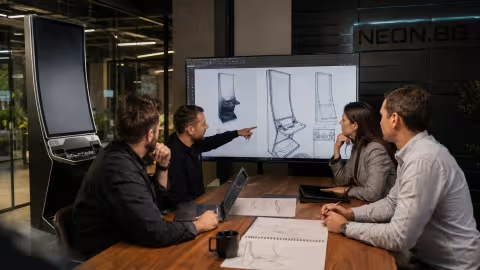
We didn't start with the machines — we started with the function of each zone.
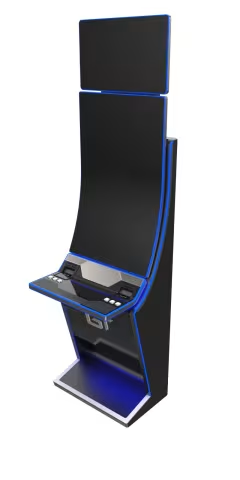
Before the first part was cut, we built a complete 3D model — every zone, every fastening point, every housing. Both the production programs and the color variants came out of it.
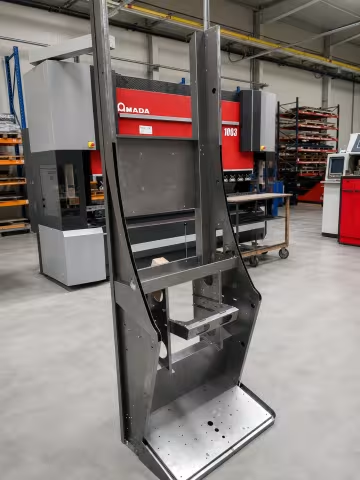
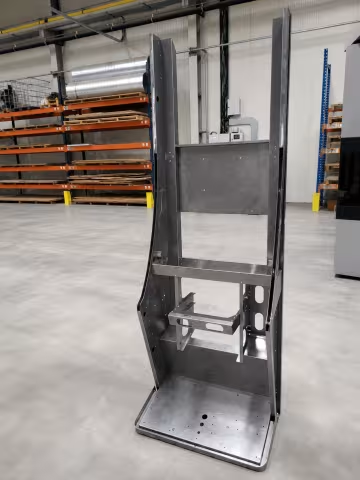
Load-Bearing Structure — Sheet Metal
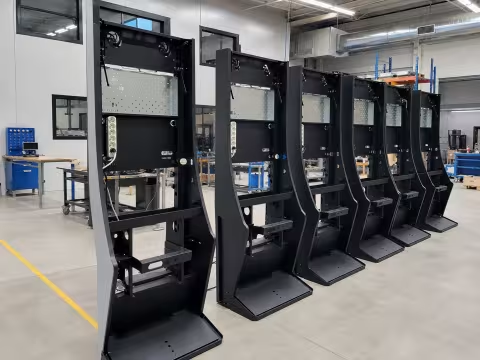
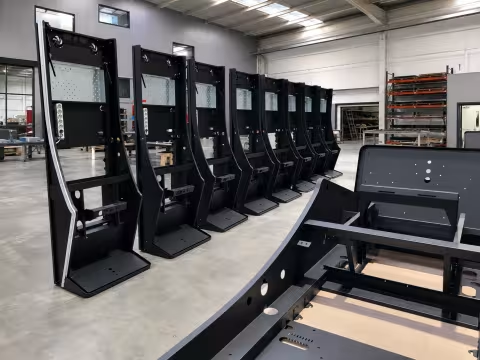
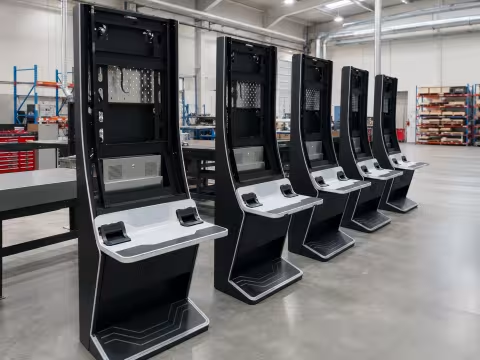
The frame carries the weight, defines the geometry, and holds all the electronics. We made it from laser-cut, formed sheet metal.
There was no point paying for 3D machining here. The profile's curve came from correctly calculated bend lines — on a curved enclosure this tall, any inaccuracy in the flat pattern accumulates and shows by the end. We worked from a calculated K-factor for the specific material and thickness, so the dimensions after bending matched the design.
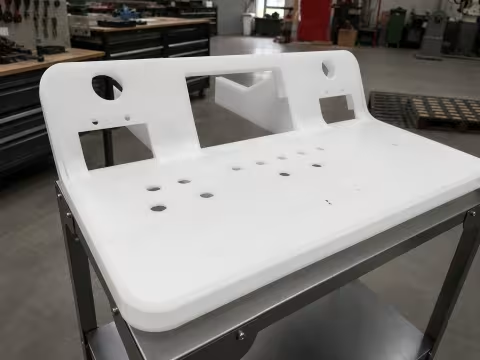
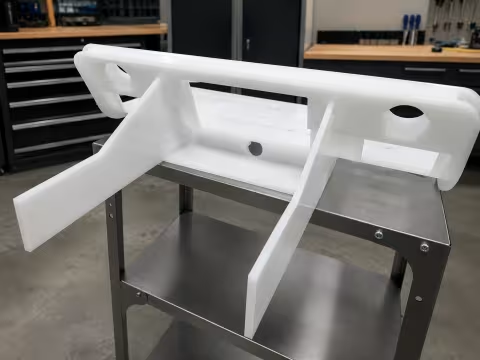
The Control Panel — 5-Axis CNC and Vacuum Forming
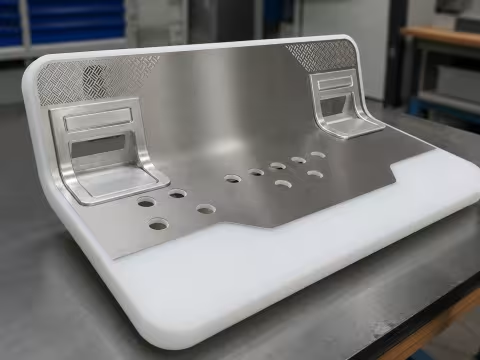
The hardest zone was the panel around the buttons and receivers. Curves, angled surfaces, multiple levels, recesses for lighting, and precise housings for components.
We produced the base through vacuum forming, then machined it on a 5-axis CNC — the contour, the button openings, the receiver housings, and all the fastening points. No die required. For the next version, we change the CAD model and the program, not the tool.
The Visible Surfaces — Designer Steel and Lighting
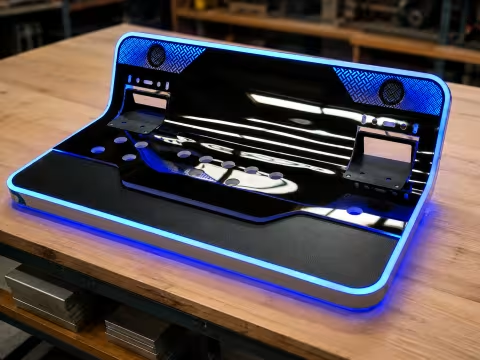
Laser-cut stainless steel with a decorative texture sits on top of the panel. The metal serves a dual purpose here: it withstands constant contact and gives the premium feel that a painted part can't achieve.
We also integrated the light contours — along the panel's edge and around the enclosure's base.
Engineering Note
When 5-Axis CNC Makes More Sense Than a Die
A die pays off on volume. Below a certain series size — and especially while the product is still evolving — it's expensive not because of the investment itself, but because of what it locks you into: every change requires a new tool and a new lead time.
5-axis machining flips the math. Higher cost per part, but zero cost per change. For a product still in development, that's often the cheaper path overall.
Process Route
Every stage took place at NEON.BG:
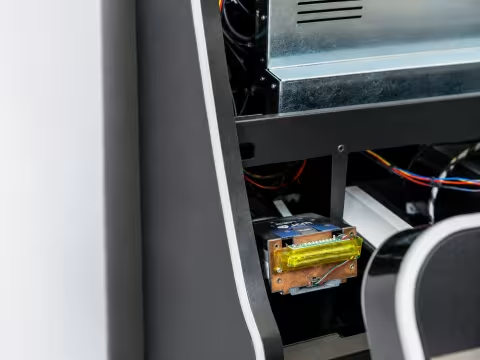
R&D and DFM → CAD → nesting → laser cutting → bending → welding → vacuum forming → 5-axis CNC → grinding and surface finishing → powder coating → lighting and electronics assembly → assembly → inspection → packaging
No handoffs between suppliers, no waiting on someone else's schedule, no tolerance mismatches between two workshops.
Timeline
| Stage | Timeline |
|---|---|
| Design & feasibility quote | 2 business days after the call |
| Design proposals | 1 week |
| Technical design | 25 days |
| Working product | 12 weeks from kickoff |
| Packaged units | +2 weeks |
These timelines are the real ones for this project. For a new inquiry, we assess them upfront against the specific task and share them with you before we start.
Result
The client received a working product, not a concept.
The curved profile, the base's zigzag shape, the panel layout — everything from the first sketch made it into the finished product. Nothing was simplified to fit a manufacturing constraint.
The product can evolve across versions — a change to the panel means a new CAD model and a new program, not a new set of tools. The same structure accommodates different color options without changing the production route.
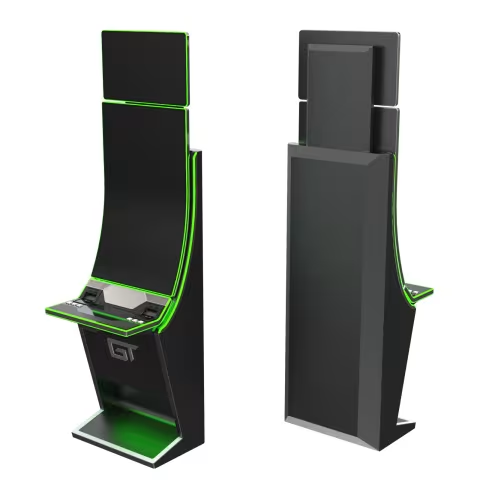
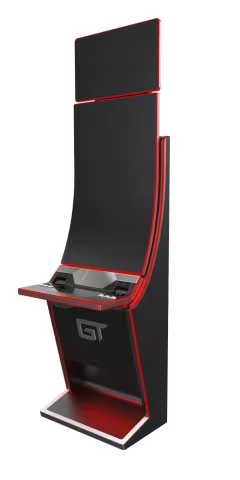
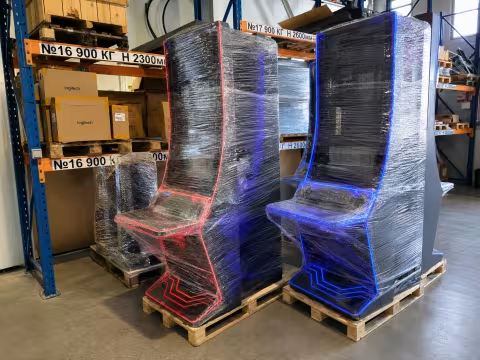
Three color variants on the same structure
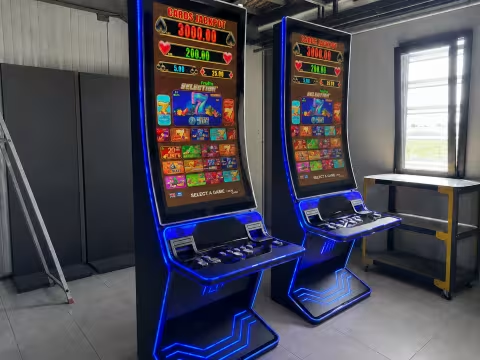
From sketch to finished terminal — 12 weeks